Self-cleaning ovens simplify maintenance by using high heat to burn food residue‚ reducing manual effort․ General Electric models offer advanced features like pyrolytic cleaning and safety locks‚ ensuring efficient and secure operation․
1․1 What is a Self-Cleaning Oven?
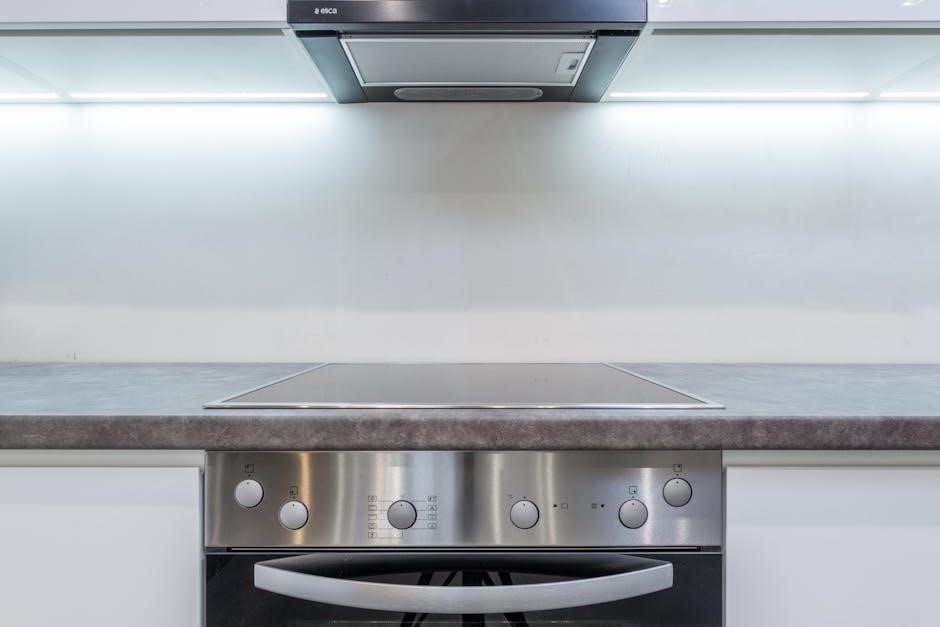
A self-cleaning oven is a convenient appliance designed to minimize manual cleaning effort․ It uses high temperatures to burn food residue‚ leaving a light ash that’s easy to wipe away․ General Electric (GE) models feature advanced mechanisms like pyrolytic cleaning‚ which ensures thorough sanitization․ These ovens often come with catalytic enamel surfaces that break down grease and food splatters during normal cooking․ Some models include optional features like steam cleaning for gentler maintenance․ The self-cleaning process typically involves locking the oven door for safety‚ preventing accidental opening during high-temperature cycles․ Always refer to the user manual for specific instructions and safety guidelines․
1․2 Benefits of Using a Self-Cleaning Oven
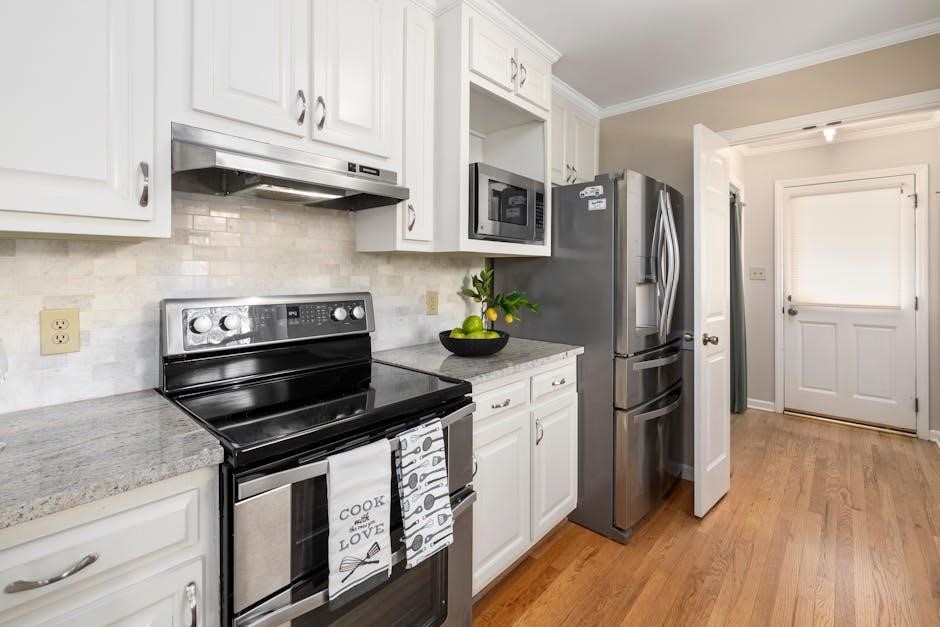
Self-cleaning ovens offer significant advantages‚ including reduced manual labor and the ability to handle tough stains effortlessly․ The high-temperature cleaning cycle ensures a deep sanitization‚ leaving only ash residue․ This feature is particularly useful for busy households‚ as it saves time and effort․ Additionally‚ models like those from General Electric often include safety mechanisms‚ such as automatic door locking‚ to prevent accidents during the cleaning process․ The catalytic enamel surfaces in some ovens further enhance efficiency by breaking down grease during cooking․ Overall‚ self-cleaning ovens provide a convenient‚ energy-efficient‚ and eco-friendly solution for maintaining a pristine kitchen environment․
Safety Instructions for Self-Cleaning Ovens
Always follow safety guidelines when using self-cleaning ovens․ Avoid abrasive cleaners‚ ensure the oven is locked during cleaning‚ and keep children away from the hot appliance․
2․1 Precautions Before Starting the Self-Clean Cycle
Before initiating the self-clean cycle‚ ensure all racks and accessories are removed․ Avoid using abrasive cleaners or sharp objects‚ as they may damage the enamel․ Always lock the oven door securely‚ as it cannot be opened during cleaning․ Remove any food debris‚ as leaving large amounts can cause smoke․ Ventilate the kitchen to prevent fumes from accumulating․ Never leave children or pets unattended near the oven during the cycle․ If your model has self-cleaning panels‚ avoid using harsh chemicals‚ as they can damage the catalytic coating․ Finally‚ ensure the oven is preheated to the correct temperature before starting the cycle․
2․2 Understanding the Oven Locking Mechanism
The oven locking mechanism is a critical safety feature that prevents accidental opening during the self-clean cycle․ When activated‚ the door locks automatically to ensure high temperatures do not pose a hazard․ On GE models‚ the lock engages once the self-clean cycle starts and remains locked until the oven cools․ Some models may have an indicator light or sound to signal the lock is active․ Never attempt to force the door open during cleaning‚ as this could damage the mechanism or cause injury․ If issues arise‚ refer to the GE manual for troubleshooting or contact customer support․

Preparing Your Oven for Self-Cleaning
Remove racks and accessories‚ then protect the floor․ This ensures safe and effective cleaning without debris interfering or causing damage during the high-heat cycle․
3․1 Removing Oven Racks and Accessories
Always remove oven racks and accessories before initiating the self-clean cycle to prevent damage and ensure effective cleaning․ Let the oven cool completely to avoid burns․ Soak racks in soapy water for effortless cleaning afterward․ Never leave them inside‚ as high heat may cause warping or release harmful fumes․ This precaution ensures both safety and optimal performance of the self-cleaning feature‚ keeping your oven in prime condition for future use․
3․2 Cleaning Enamel Surfaces Before the Cycle
Cleaning enamel surfaces before the self-clean cycle is essential for optimal results․ Lightly wipe down surfaces with a damp cloth to remove loose food particles and splatters․ Avoid using abrasive cleaners or scrubbers‚ as they may scratch the enamel․ For tougher stains‚ apply a mild detergent solution and let it sit briefly before wiping clean․ Never use harsh chemicals‚ as they can damage the finish․ This step ensures the self-cleaning process is more effective and prevents stubborn stains from hardening further during high-heat cleaning․ Always rinse and dry the surfaces thoroughly before starting the cycle․

Operating the Self-Clean Cycle
Start by selecting the self-clean option on your GE oven’s control panel․ Follow the prompts to set the cleaning mode and duration․ Ensure the oven is empty and racks are removed for optimal cleaning․ The oven will lock during the cycle to ensure safety․ Let the process complete without interruption․ The high heat will turn food residue into ash‚ making cleanup easier after cooling․ Always refer to your GE oven manual for specific operating instructions and safety guidelines․
4․1 Activating the Self-Clean Function
To activate the self-clean function on your GE oven‚ navigate to the control panel and press the “Self Clean” button․ Select the desired cleaning mode‚ either light or deep clean‚ based on the level of soil․ Use the arrow keys to set the cleaning time‚ typically between 2 to 4 hours․ Press “Start” to confirm․ The oven will automatically lock to ensure safety during the high-heat cleaning process․ The display will show “LOCKED” once the cycle begins․ Let the cycle complete uninterrupted‚ as the oven will heat to a high temperature to turn food residue into ash․ After cooling‚ wipe away the ash with a damp cloth․ Always refer to your GE oven manual for specific activation steps and safety guidelines․
4․2 Setting the Cleaning Time and Temperature
To set the cleaning time and temperature on your GE self-cleaning oven‚ press the “Self Clean” button on the control panel․ Use the arrow keys to select the desired cleaning duration‚ typically ranging from 2 to 4 hours‚ depending on soil level․ The oven automatically sets the temperature between 800°F and 900°F for optimal cleaning․ Once selected‚ press “Start” to begin the cycle․ The oven will lock and display “LOCKED” to ensure safety․ For heavy-duty cleaning‚ choose the maximum time and temperature setting․ Always allow the oven to complete the cycle uninterrupted for best results․ Refer to your GE manual for specific time and temperature recommendations․
4․3 Monitoring the Cleaning Process
During the self-cleaning cycle‚ monitor the process by observing the oven’s exterior for smoke or unusual odors․ Keep the kitchen well-ventilated to prevent fumes from accumulating․ Avoid opening the oven door‚ as it will remain locked during cleaning․ Stay nearby to ensure the cycle progresses smoothly․ If you notice excessive smoke‚ turn off the oven and allow it to cool before restarting․ Once the cycle completes‚ the oven will emit a completion signal‚ such as a beep․ Allow it to cool slightly before inspecting the interior․ Proper monitoring ensures safety and effective cleaning․ Always follow GE’s guidelines for monitoring the process․

Post-Cleaning Maintenance
After the self-clean cycle‚ let the oven cool completely before wiping down surfaces with a damp cloth․ Remove any residue and ensure racks are clean for next use․
5․1 Allowing the Oven to Cool Down
After the self-clean cycle completes‚ it’s crucial to let the oven cool down entirely before opening the door or cleaning․ This ensures safety and prevents burns․ The oven will remain locked until it cools to a safe temperature‚ which can take several hours․ Avoid forcing the door open‚ as this could damage the locking mechanism or the oven’s interior․ Once cooled‚ the oven is ready for wiping down and preparing for its next use․ Always follow the GE manual’s guidelines to maintain your oven’s performance and longevity․
5․2 Wiping Down the Oven Interior
Once the oven has cooled completely‚ use a damp‚ non-abrasive sponge or cloth to wipe down the interior surfaces․ Avoid using harsh chemicals or abrasive cleaners‚ as they may damage the oven’s finish․ Gently remove any ash or food residue‚ working from the top down․ For tough spots‚ a soft-bristle brush can be used․ Clean racks and shelves separately‚ soaking them in warm soapy water if heavily soiled․ Ensure all surfaces are wiped dry to prevent water spots․ Refer to your GE manual for recommended cleaning solutions․ Regular wiping helps maintain the oven’s appearance and functionality․

Advanced Cleaning Methods
Explore steam cleaning for gentle maintenance and pyrolytic cleaning for tough stains‚ offering deep purification without harsh chemicals‚ ideal for thorough oven care and longevity․
6․1 Steam Cleaning for Gentle Maintenance
Steam cleaning is a gentle and eco-friendly method for maintaining your GE oven․ By using water vapor‚ it softens food residue‚ making it easy to wipe away without harsh chemicals․ Simply pour water into the oven bottom‚ set the steam clean option‚ and let the cycle run․ This method is ideal for light to moderate grime and helps preserve the oven’s enamel surfaces․ Always refer to your GE manual for specific instructions and safety tips to ensure optimal results and maintain your oven’s performance over time․
6․2 Pyrolytic Cleaning for Tough Stains
Pyrolytic cleaning is a powerful method for tackling stubborn stains in your GE oven․ This high-temperature process burns food residue into ash‚ which is easy to wipe away․ Before starting‚ ensure the oven is empty and racks are removed․ Set the pyrolytic cycle‚ typically reaching extreme temperatures‚ and let it run․ Always use the oven lock for safety․ After cooling‚ wipe down the interior with a damp cloth․ Avoid abrasive cleaners to protect the enamel․ For best results‚ follow the GE manual’s guidelines for pyrolytic cleaning‚ ensuring a safe and effective deep clean for your oven․
Troubleshooting Common Issues
Troubleshooting common issues with your GE self-cleaning oven involves checking error codes‚ ensuring proper ventilation‚ and verifying the oven lock is functioning․ Always refer to the manual for specific solutions or contact customer support for assistance․
7․1 Oven Not Heating During the Clean Cycle
If your GE self-cleaning oven isn’t heating during the clean cycle‚ check the power supply and ensure the circuit breaker hasn’t tripped․ Verify the oven lock is fully engaged‚ as the cycle won’t start otherwise․ Ensure the self-clean feature was properly activated and the door is sealed․ Check for error codes on the display‚ which may indicate specific issues․ Consult the GE troubleshooting guide for code meanings․ Poor ventilation or excessive debris could also disrupt heating․ Allow the oven to cool‚ then restart the cycle․ If the problem persists‚ refer to the manual or contact GE support for assistance․
7․2 Smoke or Odors During Cleaning
Smoke or strong odors during the self-clean cycle are common due to food residue burning off․ Ensure proper ventilation by opening windows or running a fan․ Large food particles can cause excessive smoke‚ so lightly clean the oven before starting; Avoid using abrasive cleaners beforehand‚ as they may release harmful fumes․ If smoke persists‚ stop the cycle and let the oven cool․ Check for blockages in vents or poor airflow․ GE manuals recommend monitoring the process and addressing any issues promptly to prevent overwhelming odors․ Always follow safety guidelines to minimize discomfort during cleaning․
Energy Efficiency and Self-Cleaning
GE self-cleaning ovens optimize energy use during cycles‚ reducing overall consumption․ Modern models feature advanced insulation and sensors for efficient heating‚ lowering long-term energy costs significantly․
8․1 Energy Consumption During the Clean Cycle
General Electric self-cleaning ovens are designed to optimize energy efficiency‚ even during high-temperature cleaning cycles․ The self-clean function uses significant energy due to the extreme heat required to burn food residue․ Modern GE models feature advanced insulation and sensors to minimize energy waste․ While the cycle consumes more power than standard baking‚ the overall efficiency reduces long-term energy costs by maintaining optimal oven performance․ GE ovens also offer shorter cleaning cycles in newer models‚ balancing convenience and energy use․ Always refer to your specific model’s manual for exact energy consumption details‚ as it may vary based on features and settings․
8․2 Eco-Friendly Cleaning Practices
General Electric ovens support eco-friendly cleaning practices by minimizing chemical use and optimizing energy efficiency․ For lighter cleaning‚ natural alternatives like baking soda and water can be used before the self-clean cycle․ This reduces harsh chemical fumes and promotes sustainability․ Additionally‚ running the self-clean cycle during off-peak energy hours can lower your carbon footprint․ Proper ventilation during cleaning ensures fumes are managed responsibly․ Regular maintenance‚ such as wiping spills promptly‚ reduces the need for frequent deep cleans‚ further conserving energy and extending oven life․ These practices align with eco-conscious habits while maintaining oven performance․

User Experiences and Reviews
Users praise the convenience and efficiency of GE self-cleaning ovens‚ highlighting ease of use and reliable performance․ However‚ some note occasional odor issues during cleaning․
9․1 Customer Feedback on Self-Cleaning Performance
Customers generally praise the self-cleaning feature of GE ovens‚ noting its effectiveness in removing tough stains and food residue․ Many appreciate the convenience of not needing harsh chemicals‚ while others highlight the time-saving aspect․ Some users mention that the high heat cycle leaves the oven looking almost new․ However‚ a few report concerns about the intense odor during the cleaning process․ Overall‚ the feature is well-received‚ with many considering it a valuable addition to their cooking routine․ Despite minor drawbacks‚ the self-cleaning function remains a popular choice for maintaining oven hygiene․
9․2 Tips and Tricks from Experienced Users
Experienced users recommend starting with lighter cleaning cycles to avoid excessive smoke and odors․ They suggest removing large food debris before the self-clean cycle for better results․ Placing a baking sheet lined with foil at the bottom can catch residue‚ making post-cleaning wipedowns easier․ Some advise cleaning racks in soapy water while the oven cleans․ Users also recommend airing out the kitchen thoroughly to minimize lingering smells․ Regular use of the self-clean feature is encouraged to prevent stubborn stains․ These tips enhance the efficiency and convenience of maintaining a clean and well-functioning oven․

General Electric Oven Manual Highlights
The GE self-cleaning oven manual emphasizes safety‚ energy efficiency‚ and advanced cleaning modes․ It provides detailed instructions for steam and pyrolytic cleaning‚ ensuring optimal performance and maintenance․
10․1 Key Features of the GE Self-Cleaning Oven
The GE self-cleaning oven boasts advanced features like steam cleaning‚ pyrolytic cleaning‚ and smart connectivity․ It offers multiple cleaning modes‚ including a rapid clean option for lighter messes․ The oven features a durable enamel coating that simplifies food residue removal․ Its intuitive touch controls provide easy access to cleaning settings․ Energy efficiency is enhanced with adaptive heating technology․ Additionally‚ GE ovens include a child safety lock and automatic shut-off for added safety․ These features ensure a hassle-free‚ efficient‚ and eco-friendly cleaning experience‚ making the GE self-cleaning oven a top choice for modern kitchens․
10․2 Troubleshooting Guide from the Official Manual
The GE self-cleaning oven manual provides a detailed troubleshooting guide to address common issues․ If the oven doesn’t heat during the clean cycle‚ ensure the power supply is stable and the door is fully locked․ For smoke or unpleasant odors‚ check for proper ventilation and avoid excessive food residue․ Error codes like “F” or “E” indicate specific malfunctions‚ which can be diagnosed using the manual’s error code chart․ Regularly cleaning the oven vent and ensuring the racks are properly placed can prevent many issues․ Refer to the official GE manual for step-by-step solutions to maintain optimal performance․
The GE self-cleaning oven offers convenience and efficiency‚ simplifying maintenance while ensuring thorough cleaning․ Follow manual guidelines for optimal performance and safety‚ enhancing your cooking experience․