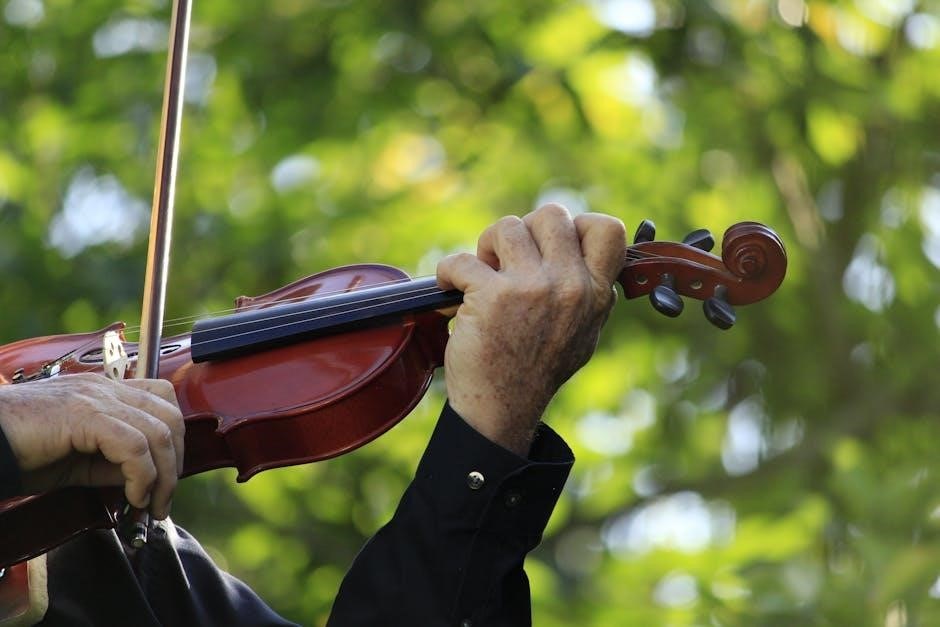
A violin fingering chart is a visual guide that maps finger placements on the fingerboard for specific notes and key signatures. These charts are essential for learning proper technique, improving intonation, and mastering complex scales. Available as free printable PDFs or interactive tools, they provide a clear roadmap for violinists to navigate the fingerboard confidently. By using these resources, musicians can enhance their practice and achieve a higher level of musical precision and expression.
What is a Violin Fingering Chart?
A violin fingering chart is a detailed guide that illustrates the placement of fingers on the violin’s fingerboard to produce specific notes. These charts are designed to help violinists navigate the instrument’s layout, ensuring proper intonation and technique. They typically include mappings for open strings, sharps, flats, and key signatures, providing a visual representation of where fingers should be placed for each note. Available in formats like free printable PDFs or interactive digital tools, fingering charts are invaluable for students and professionals alike. They often cover multiple positions, from first position to advanced ranges, and may include additional resources like flashcards or audio files for comprehensive learning. By using these charts, violinists can master complex scales, improve finger dexterity, and enhance their overall musical performance.
The Importance of Fingering Charts for Violinists
Fingering charts are indispensable tools for violinists, providing clear guidance on finger placement and note accuracy. They help maintain consistency in playing, ensuring that notes are played in tune and with proper technique. By following these charts, violinists can avoid intonation issues and develop good habits early in their learning process. Fingering charts also enhance technical proficiency by illustrating the most efficient finger patterns for scales, arpeggios, and complex passages. They are particularly beneficial for beginners, as they simplify the learning curve by eliminating guesswork. For advanced players, charts serve as a reference to refine technique and explore nuanced fingerings. Additionally, they aid in sight-reading and learning new repertoire by offering a visual map of the fingerboard. Overall, fingering charts are essential for improving both technical accuracy and musical expression, making them a cornerstone of violin education and practice. Their availability in PDF formats ensures accessibility for musicians worldwide.
History and Evolution of the Violin
The violin evolved from early string instruments like the lira da braccio and viol, transforming over centuries. Its design and construction advanced, enabling richer tones and better playability, revolutionizing music and technique.
Origins of the Violin
The violin originated in the early 16th century, evolving from instruments like the lira da braccio and viol. Its development is attributed to Italian luthiers, with Andrea Amati often credited as its creator. The violin’s design became more refined, featuring four strings and a standardized structure. Early violins were smaller, with a warmer, softer sound compared to modern versions. The instrument quickly gained popularity across Europe, adapting to various musical styles. Its versatility and expressive qualities made it a cornerstone of both classical and folk music. The evolution of the violin was closely tied to advancements in string-making and playing techniques, laying the foundation for modern fingering systems.
Development of Violin Fingering Techniques
The development of violin fingering techniques evolved alongside the instrument itself, with early methods focused on simplicity and practicality. In the Baroque era, composers like Bach and Vivaldi introduced complex compositions that demanded more sophisticated fingerings. The Classical period saw further refinement, with violinists like Mozart and Haydn pushing technical boundaries. By the Romantic era, virtuosos such as Paganini revolutionized fingering techniques, incorporating advanced patterns and harmonics. Modern fingering systems emphasize efficiency, tone production, and ease of play, influenced by pedagogues like Carl Flesch. Today, standardized fingering charts provide clarity, helping players navigate intricate passages. These charts often reflect historical techniques while adapting to contemporary musical demands, ensuring the violin’s expressive potential is fully realized.

Structure of the Violin
The violin’s structure includes a hollow body, neck, fingerboard, strings, and bridge. These components work together to produce sound and support proper fingering techniques, essential for playing effectively.
Parts of the Violin
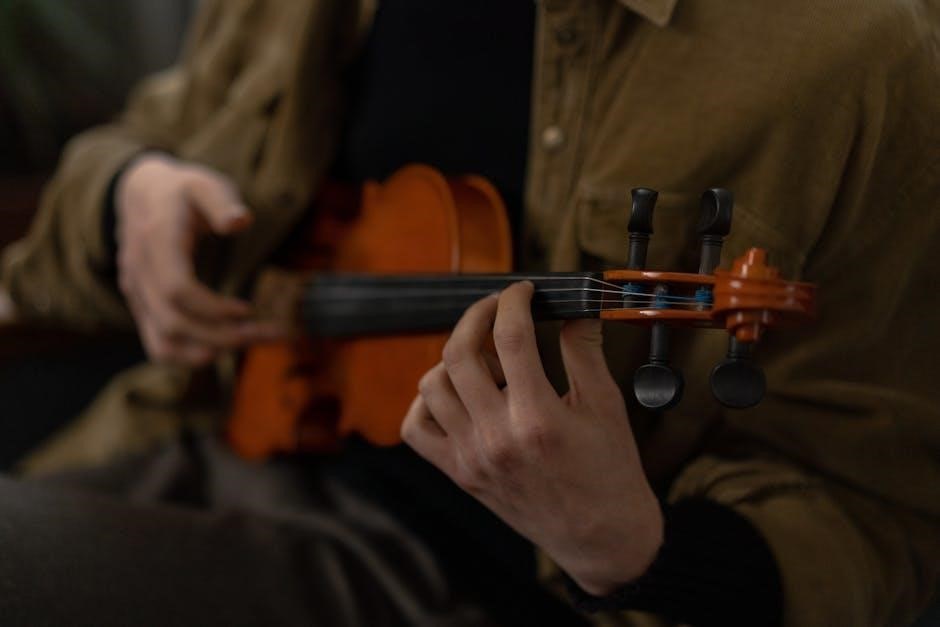
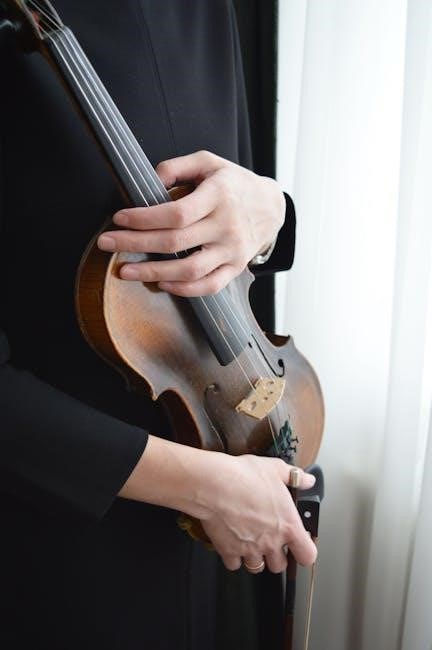
The violin comprises several essential parts, each playing a crucial role in its sound production and fingering techniques. The body, made of wood, is hollow to amplify sound. The neck connects the body to the fingerboard, a long, flat piece of wood where fingers press the strings. The strings, typically four in number (G, D, A, E), are stretched from the tuning pegs to the tailpiece. The bridge supports the strings and transfers vibrations to the body. The tuning pegs adjust string pitch, while the scroll is a decorative part at the top. These components work together to enable proper fingering and intonation, as detailed in a violin fingering chart PDF. Understanding these parts is vital for mastering violin techniques and effectively using fingering charts for practice and performance.
The Role of the Fingerboard in Fingering
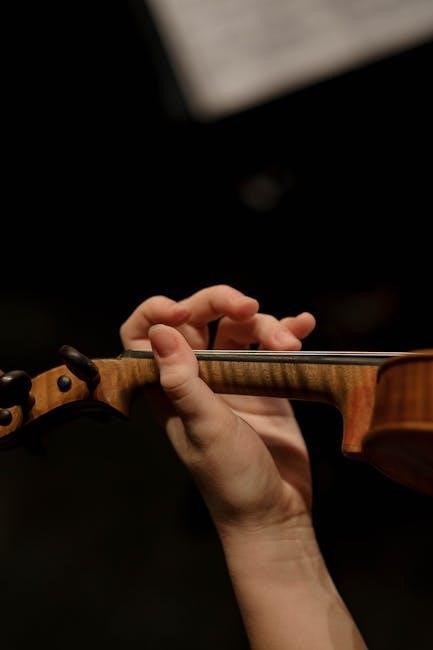
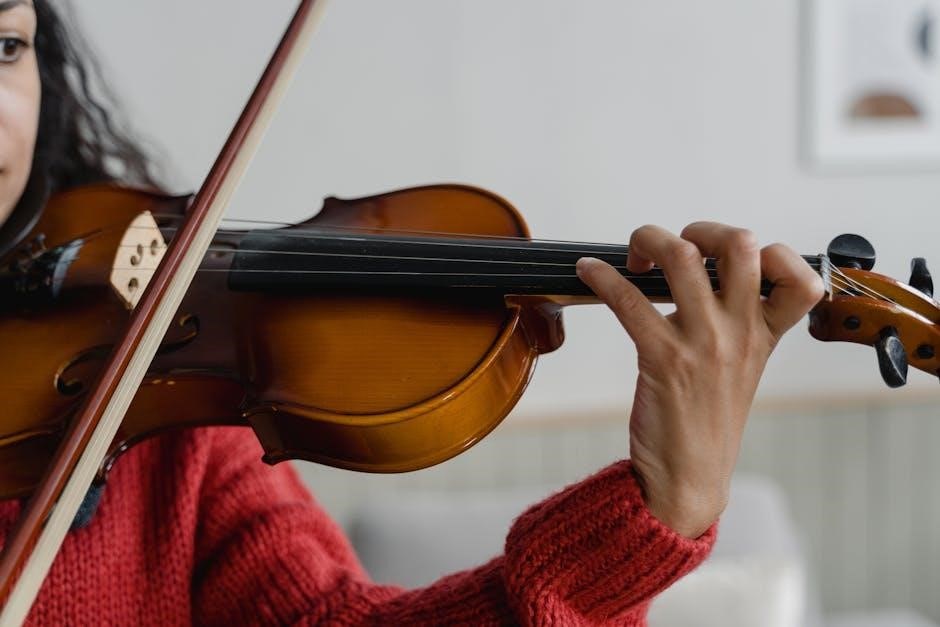
The fingerboard is a critical component of the violin, serving as the surface where the player presses the strings to produce different notes. Made of a smooth, durable material like ebony, it is attached to the neck and extends the length of the playing area. The fingerboard’s primary role in fingering is to provide a precise surface for placing the fingers, ensuring proper intonation and clarity of sound. Its slightly curved shape allows for easy access to all four strings. The fingerboard is divided into different positions, guiding the player’s fingers to the correct placements for each note. A violin fingering chart PDF often includes markings that correspond to specific positions on the fingerboard, helping players navigate the instrument with accuracy. Mastery of the fingerboard is essential for executing complex fingerings and achieving musical expression. Proper finger placement on the fingerboard is the foundation of all violin techniques.
Understanding Violin Fingering Charts
A violin fingering chart PDF serves as a visual guide, mapping finger placements on the fingerboard to specific notes. It enhances technique and intonation, aiding players in mastering complex passages efficiently and accurately.

How to Read a Violin Fingering Chart
Reading a violin fingering chart PDF requires understanding its layout and symbols. The chart typically displays the fingerboard with notes marked across the strings. Numbers (1-4) indicate which finger to use for each note. Open strings are often marked with circles, while fingered notes use filled circles or other symbols. Key signatures are highlighted, showing sharps or flats, and arrows may indicate shifts or slides between positions. Some charts include color-coding or labels for clarity. Start by identifying the string and note you want to play, then locate the corresponding finger placement. Practice matching the chart to your instrument to build familiarity. Regular use of a fingering chart improves intonation and technique, especially in complex passages. Over time, it becomes a valuable tool for refining your playing and exploring advanced repertoire with confidence.
Key Symbols and Notations Used in Fingering Charts
Violin fingering charts use specific symbols and notations to guide players. Open strings are often marked with circles (○), while fingered notes are indicated with numbers (1-4) placed above or below the note. Sharps (♯) and flats (♭) are shown next to notes to indicate accidentals. Some charts use dots (●) to highlight important finger placements or shifts. Lines or arrows may denote slides or glissandos between notes. Vibrato is sometimes indicated with wavy lines (~) above the note. Mute symbols (♀) or asterisks (*) might suggest using a mute. Harmonics are often marked with a small circle (°) above the note. Understanding these symbols is essential for interpreting the chart accurately. Always check the legend or key provided with the chart, as variations exist. These notations help players navigate the fingerboard with precision, ensuring proper technique and intonation.
First Position Fingering
First position fingering is the foundational technique for violinists, utilizing the first four fingers on the four strings. Violin fingering chart PDFs provide clear visuals for finger placement and note accuracy, essential for beginners.
Finger Placement for Open Strings
Finger placement for open strings is a fundamental concept in violin technique, focusing on the proper positioning of fingers without pressing the strings against the fingerboard. Open strings (G, D, A, E) are played without any finger placement, relying solely on the bow. However, when fingering near open strings, the first finger is typically placed close to the nut for notes in the first position. The second, third, and fourth fingers follow in sequence, each covering a semitone within their respective positions.
Violin fingering chart PDFs often highlight these placements, showing the exact spots for each finger. Proper placement ensures clear intonation and tone quality. Beginners should practice placing fingers lightly and accurately, using a tuner or listening carefully to achieve precise pitch. Regular practice with these charts helps build muscle memory and improves overall technique.
Basic Finger Patterns in First Position
Basic finger patterns in first position are essential for developing proper violin technique. These patterns involve placing the fingers close to the fingerboard without overlapping, ensuring clarity and precision. The first finger is positioned near the nut, while the second, third, and fourth fingers follow in sequence, each covering a semitone. For example, on the A string, the first finger plays A#, the second finger plays B, and so on. These patterns are foundational for playing scales, arpeggios, and simple melodies.
Violin fingering chart PDFs often illustrate these patterns, helping students visualize finger placement and transitions. Practicing these patterns regularly builds finger strength, dexterity, and familiarity with the fingerboard. By mastering these basics, players can progress to more complex techniques and repertoire with confidence.

Advanced Positions on the Violin
Advanced positions on the violin involve shifting the hand up the fingerboard to higher notes. This technique expands range and enhances musical expression.
Second Position Fingering Techniques
Second position fingering involves shifting the hand one semitone higher than the first position, placing the first finger where the open string was. This allows access to higher notes while maintaining proper intonation. Key techniques include smooth shifts, precise finger placement, and careful adjustment of finger spacing. Players must develop finger independence to avoid pressing too hard, which can cause intonation issues. Second position is often introduced after mastering first position, as it builds on foundational skills. Regular practice with scales, arpeggios, and etudes helps solidify this technique. Finger charts are invaluable for visualizing finger placement and transitions between positions. Mastery of second position expands the violinist’s range and enhances musical expression, making it a crucial step in advancing their technical proficiency.
Third Position and Beyond: Expanding Your Range
Moving to third position and beyond requires a deeper understanding of finger placement and intonation. In third position, the first finger plays notes that were previously open strings in first position, offering access to higher pitches. As you advance to higher positions, the finger spacing becomes tighter, demanding precise placement to maintain clarity. Finger charts are essential for navigating these transitions, as they provide visual guidance for note locations. Practicing scales and arpeggios in higher positions helps build familiarity and control. The further you progress, the more critical it becomes to develop a keen ear for intonation, as the margin for error decreases. Expanding your range allows for greater musical expression, enabling you to tackle more complex repertoire. With consistent practice and reference to fingering charts, violinists can master these advanced techniques and unlock new possibilities in their playing.

Sharps and Flats in Violin Fingering
Understanding sharps and flats is crucial for accurate intonation. These accidentals alter finger placement, requiring precise adjustments to produce the correct pitch. PDF charts provide clear guidance for navigating sharps and flats effectively.
Fingering for Sharp Key Signatures
Fingering for sharp key signatures requires precise intonation adjustments due to raised pitches. PDF charts outline finger placements for notes like F#, C#, and G#, ensuring clarity and accuracy. Each sharp key, such as G major or D major, has distinct fingerings to maintain proper tuning. For example, in G major, the F# is played with the second finger on the D string, while in D major, the C# is played with the first finger on the A string. These charts help violinists navigate the fingerboard confidently, especially in complex passages. Sharp keys often demand higher finger positions, which can be challenging but are essential for producing vibrant, in-tune notes. By practicing with fingering charts, players can master these techniques and enhance their overall musical expression. Regular use of these resources fosters consistency and precision, making sharp key signatures more approachable and enjoyable to play.
Fingering for Flat Key Signatures
Fingering for flat key signatures involves specific techniques to accommodate lowered pitches. PDF charts provide detailed finger placements for notes like B♭, E♭, and A♭, ensuring rich and resonant tones. In F major, for instance, the B♭ is played with the second finger on the A string, while in E♭ major, the E♭ is played with the first finger on the D string. These charts guide violinists in navigating flat keys seamlessly, maintaining proper intonation and musicality. Flat keys often require lower finger positions, which can present unique challenges but also opportunities for expressive playing. By studying these charts, players can master the subtle nuances of flat key signatures, enhancing their technical accuracy and artistic expression. Regular practice with these resources helps build confidence and consistency, making flat key signatures more accessible and enjoyable to perform.
Practical Applications of Fingering Charts
Fingering charts are essential tools for improving technique, consistency, and accuracy. They guide finger placement, enhance musicality, and help violinists master complex passages with confidence and precision.
Using Fingering Charts to Improve Technique
Fingering charts are invaluable for refining violin technique. They provide clear guidance on finger placement, helping violinists develop proper intonation and dexterity. By following these charts, players can improve accuracy, especially in complex passages. Regular practice with fingering charts enhances muscle memory, allowing for smoother transitions between notes. They also aid in mastering advanced techniques like double stops and chords. Additionally, charts help violinists build consistency across different keys and positions. For beginners, they simplify the learning process by breaking down challenging pieces into manageable finger patterns. Intermediate and advanced players can use them to refine their skills and explore nuanced articulations. Overall, fingering charts serve as a foundational tool for technical improvement, enabling violinists to perform with greater precision and confidence. They are an essential resource for anyone aiming to elevate their playing to the next level.
Enhancing Musicality Through Proper Fingering
Proper fingering is essential for bringing out the emotional depth and expressive qualities of music. By using fingering charts, violinists can master the subtle nuances required to convey musicality. Accurate finger placement ensures precise intonation, allowing for dynamic contrasts and phrasing that resonate with listeners. Fingering charts also help players develop consistent vibrato and bowing techniques, which are critical for expressing emotion. Additionally, they enable seamless transitions between notes, creating a fluid and natural sound. As musicians progress, these tools allow them to explore advanced techniques like glissando and portamento, further enhancing their interpretive skills. Ultimately, proper fingering is not just about technical accuracy—it’s about transforming notes into a meaningful musical experience. By refining fingering, violinists can connect with the music on a deeper level, resulting in performances that captivate and inspire audiences.
Resources for Violin Fingering Charts
Discover numerous resources for violin fingering charts, including free PDF downloads and interactive tools. These materials cater to both beginners and advanced players, offering detailed guidance and practice exercises.
Free Printable PDF Charts
Free printable PDF charts for violin fingering are widely available online, offering convenient access to essential learning tools. These charts are designed to help violinists of all skill levels, from beginners to advanced players, master finger placement and intonation. Many music education websites, forums, and violin instructors provide downloadable PDFs that cover various keys, scales, and arpeggios; These charts often include detailed diagrams of the fingerboard, with numbered fingers indicating precise placements for each note. Some resources also offer customizable PDFs, allowing users to focus on specific keys or techniques. Additionally, many PDF charts are organized by difficulty, making it easy for players to progress gradually. Printable PDFs are ideal for practice sessions, as they can be easily referenced and marked up with notes or corrections. By utilizing these resources, violinists can enhance their technical accuracy and musical expression effectively.
Recommended Interactive Tools and Apps
For violinists seeking interactive learning experiences, several apps and tools are highly recommended to complement PDF fingering charts. Apps like Fiddlerman and Violin Notes provide interactive fingering charts, allowing users to explore notes and finger placements in real-time. These tools often include features such as note recognition, sound playback, and adjustable tempos. Yousician is another popular app that offers gamified violin lessons, including exercises focused on fingering techniques. Additionally, platforms like Musicnotes and Essential Elements offer digital tools with interactive fingering guides tailored to specific pieces and scales. These resources are ideal for enhancing technique and improving intonation. Many apps also allow users to track progress, set goals, and practice efficiently. By combining these tools with printable PDF charts, violinists can create a well-rounded and engaging practice routine.
Mastering violin fingering charts is essential for achieving technical precision and musical expression. Consistent practice and exploration of resources will enhance your skills and deepen your artistic connection to the instrument.
The Role of Fingering Charts in Violin Mastery
Fingering charts are indispensable tools for achieving mastery on the violin. They provide clarity and precision, helping violinists navigate complex passages with confidence. By standardizing finger placements, these charts ensure consistency in tone and intonation, which are critical for advanced playing. Fingering charts also serve as a roadmap for exploring higher positions and intricate techniques, making them essential for both beginners and seasoned musicians. Moreover, they aid in developing proper hand positioning and finger independence, which are foundational for technical proficiency. As violinists progress, fingering charts become a trusted companion, offering solutions to challenging fingerings and enhancing overall musical expression. Regular practice with these charts fosters a deeper understanding of the instrument, leading to greater control and artistry. Ultimately, they are a cornerstone in the journey toward violin mastery, guiding players to refine their skills and deliver captivating performances.
- Consistency in tone and intonation.
- Exploration of advanced techniques and positions.
- Enhanced finger independence and hand positioning.
By integrating fingering charts into daily practice, violinists can unlock their full potential and achieve a higher level of musical excellence.
Encouragement for Continuous Practice and Learning
Mastering the violin is a lifelong journey, and consistent practice is essential for progress. Even small, daily sessions can lead to significant improvement over time. Embrace challenges as opportunities to grow, and celebrate every small achievement along the way. The use of violin fingering charts, especially violin fingering chart PDF resources, can serve as a valuable guide to help you stay organized and focused in your practice. Remember, the goal is not perfection but continuous development. Experiment with different techniques, explore various repertoire pieces, and seek feedback from teachers or peers. Stay curious and open to learning, as there is always something new to discover. With dedication and passion, you will continue to refine your skills and deepen your connection to the music. Keep practicing, and let your love for the violin inspire you every day.